The student view is information regarding the student that is highlighted in the student tracking list.
Watch the video below to learn about the student view.
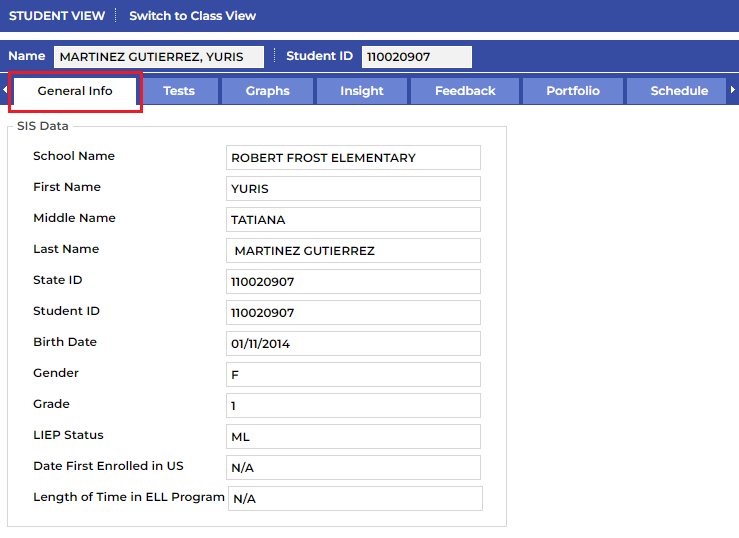
¶ General Info Tab
The General Info Tab contains basic relevant information about the student selected.
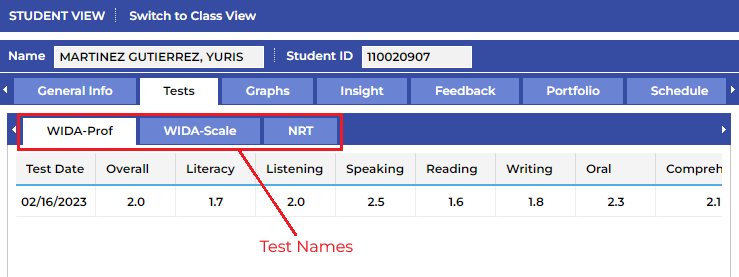
¶ Tests Tab
The Tests Tab displays the tests that are available for viewing for the student selected.
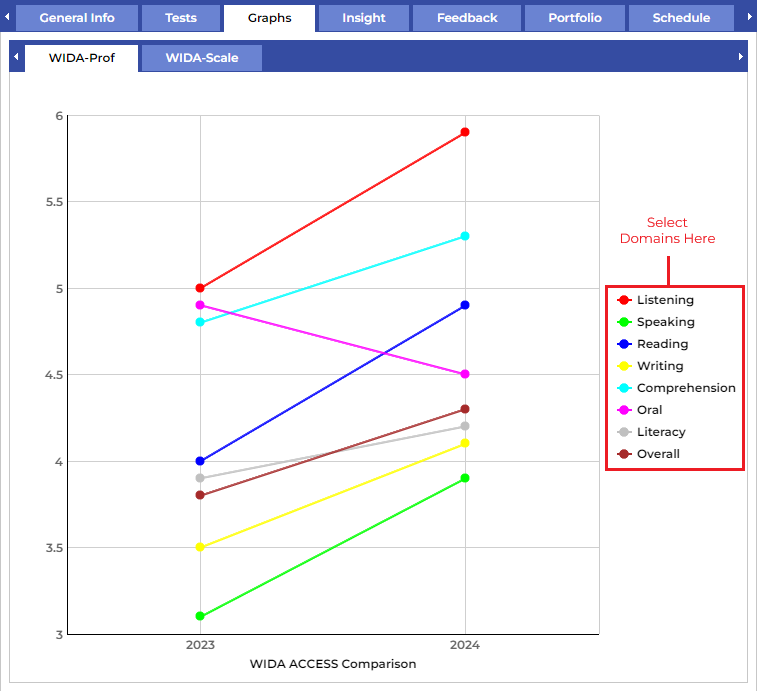
¶ Graphs Tab
The data displayed here is a visual representation of the student’s WIDA test score history.
You can select and/or deselect each domain/composite test result by clicking on the name in the legend to the right.
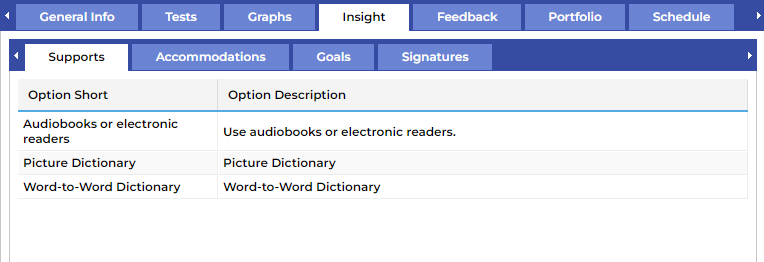
¶ Insight Tab
This tab displays all of the selected student’s accommodations and LIEP goals.
Watch the video below to learn about the Insight Tab.
¶ Supports
Displays all Classroom Supports assigned to the selected student.
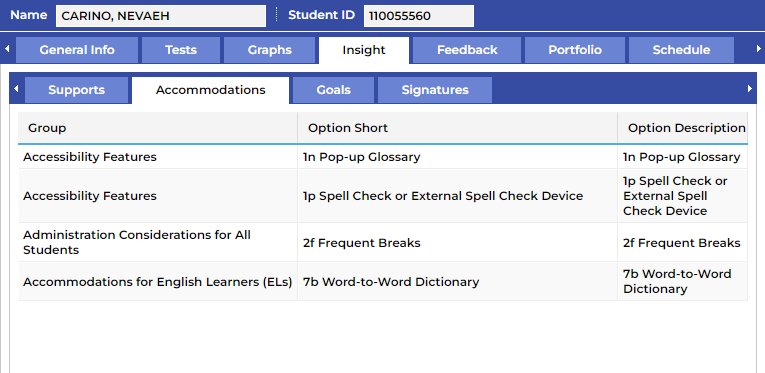
¶ Accommodations
Displays all State & WIDA Test Accommodations assigned to the selected student.
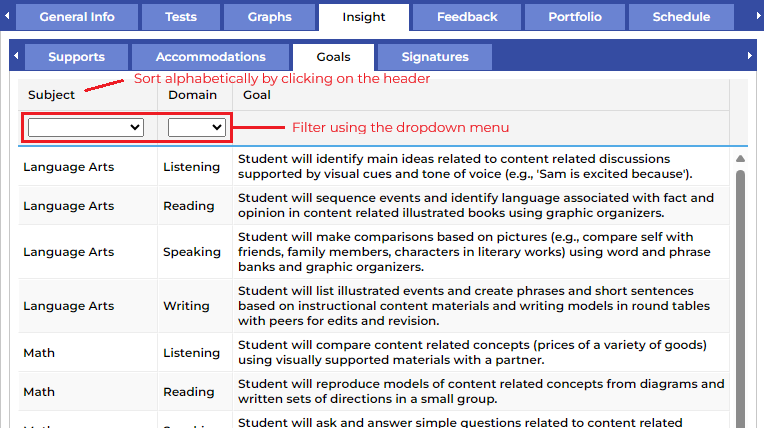
¶ Goals
The LIEP Goals that are generated based on WIDA results are displayed here and can be sorted alphabetically and/or filtered by either Subject or Domain.
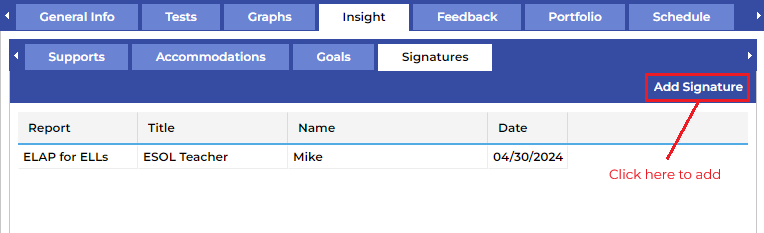
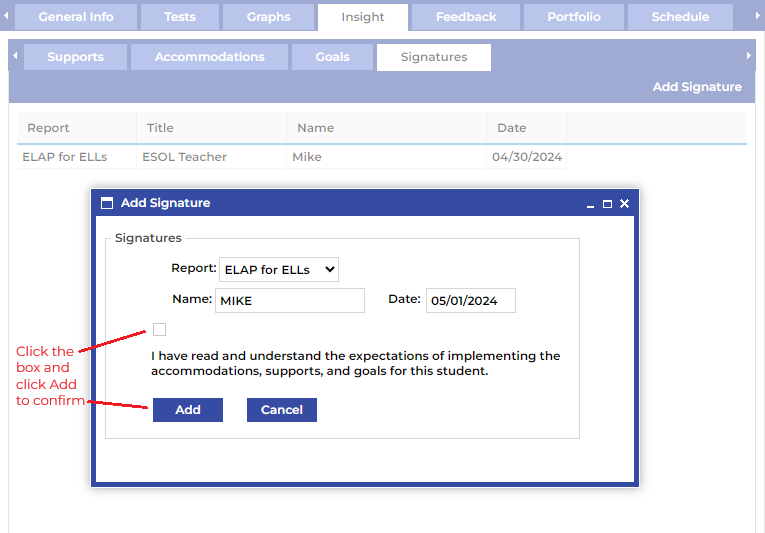
¶ Signatures
Signatures are requested on all ELAPs. Digital signatures can be added under the Insight/Signatures tab and will be displayed on the ELAP. Once you are in the Signatures tab, click Add Signature, check the box to confirm that you have read and understand the expectations, click Add, and your signature will be saved and displayed on the ELAP.
¶ Feedback Tab
This tab provides access to adding monitoring history and observations for the selected student.
¶ Monitoring
The Monitoring tab allows you to create and manage monitoring records for all students who have met the exit criteria on the WIDA ACCESS test and have achieved proficiency. To create a new record for a student, click on "Add Record."

Enter the appropriate information into the window that pops and click the Add button to create the record or click the Add/Print button to add and print the record
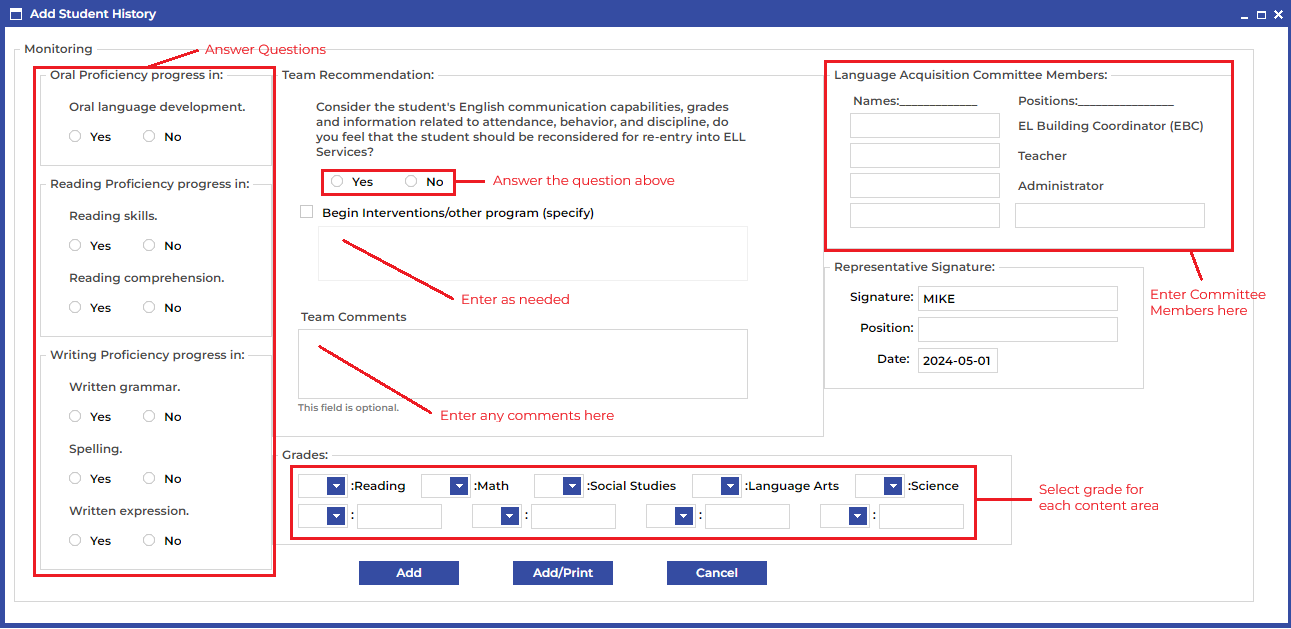
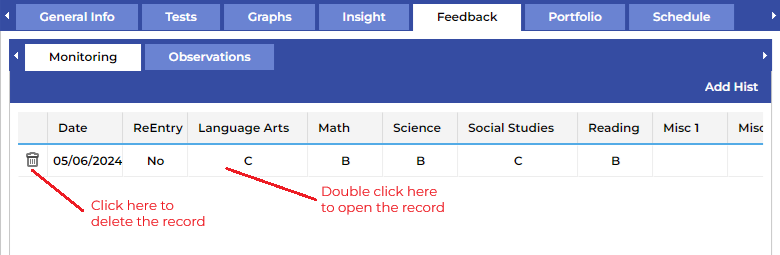
To edit previously created records double click on the record and to delete the record click on the trash can icon at the left end of the record.
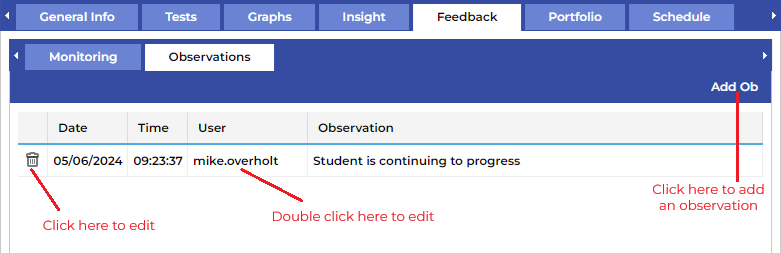
¶ Observations
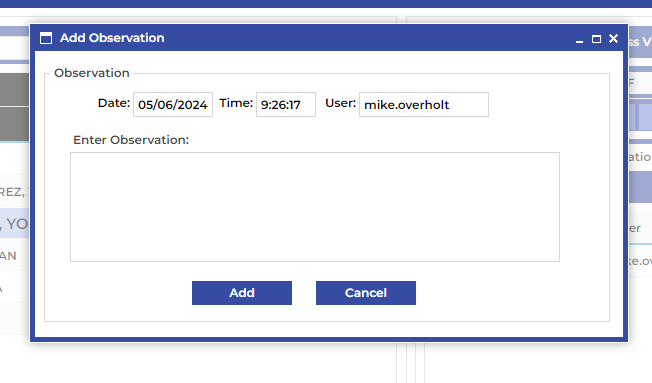
Observations are notes that any teacher that is assigned to this student can see. An observation can be added by clicking on Add Ob or can be edited by double clicking on the record. A record can also be deleted by clicking on the trash can on the left of the record.
Enter your observation into the entry window and click Add to create the observation.
¶ Portfolio Tab
All of the previous data is available to be printed by selecting the corresponding box(es) and clicking Create Report.
